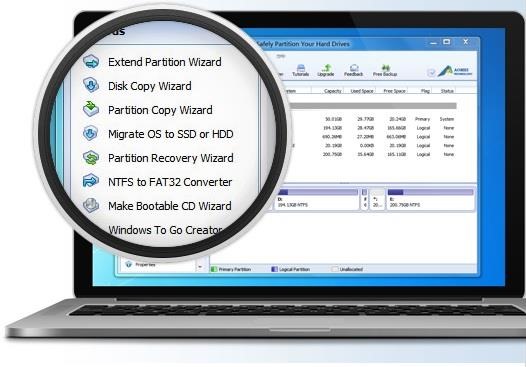
Number of computer users has grown multitude times over the past few years and so have their problems. One of the key problems every computer user faces this day is how to manage the partitions on a hard disk or solid state drive. Disk partitioning work is usually carried out by IT admins in big companies and it is indeed a very demanding job. This is because if one does not handle it properly, you will be at risk of losing your valuable data. However there is a free disk partition management software called AOMEI Partition Assistant that makes managing partitions easily.

The AOMEI Partition Assistant is a free partition manager has enjoyed good reputation among new and power users as it comes with myriad powerful features that have been made simplified for the end user. It runs on almost any and every Windows operating system released till date and that includes Windows 10, Windows 8.1, Windows 8, Windows 7, Vista, XP, and Windows 2000. Windows server is also supported. Here is a feature list of this partition assistant.
1. Resize and Move partitions: Allows you to change the partition size without losing any data.
2. Extend partition wizard: Lets you extend an NTFS partition without even restarting the computer.
3. Allocate free space from one partition to another.
4. Merge and split partitions.
5. Clone one partition to another.
6. Create / Delete / Format partition.
7. Create bootable disk to install windows or other operating system using USB or DVD.
8. MBR and GPT conversion.
9. Hide and unhide partitions.
10. Recovery of partitions.
The feature I personally love the most is its migrate OS to ssd feature that lets you move your entire operating system from your current disk to the new SSD that you bought to speed up your computer operations. So you will not have to go through the tedious task of reinstalling the OS to the new SSD. However there are couple of things to keep in mind. First, the free space on the SSD should have equal or larger unallocated space. Second, if you are migrating from a drive that earlier used MBR to GPT, make sure that the motherboard supports EFI or UEFI boot. Otherwise you won’t be able to perform the migration successfully.
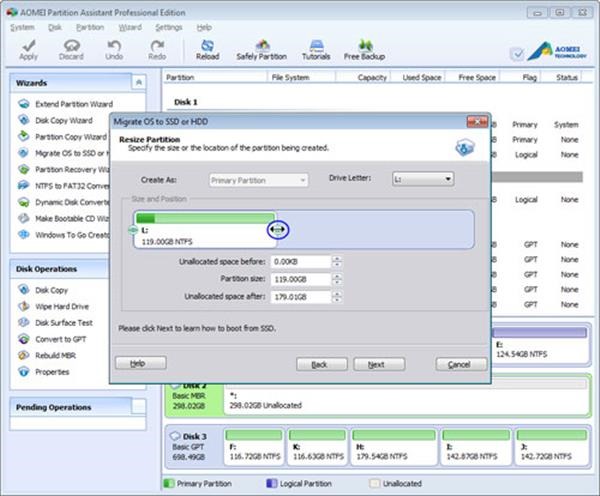
Step 1 – Install the app and launch it. Select “Migrate OS to SSD or HDD” from the wizards column. Make sure the SSD is already connected to the computer. In the next step, you will have to select the partition on SSD that is the destination disk.
Here you can also modify the size, drive letter and location. You can also choose to keep the default settings.

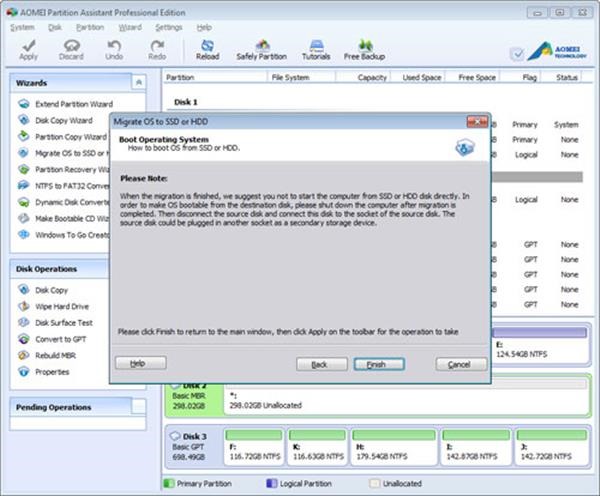
Step 2 – And that is it. You will now be shown information about Boot Operating system. Read it and click on Finish button to commence the migration process. It will take some time depending on the size of your partition.

Verdict – The AOMEI Partition Assistant is clearly the best and most user friendly partition manager released till date. It is very feature rich but is simple at the same time to not confuse the new and naïve users.


